How to Start a Blog in 2026: 9 Simple Steps for Beginners

Welcome! Learn how to start a blog and make money online step by step.
Today, many people dream of an online career—and I believe now is the perfect time to start your blogging journey.
Blogging is more than just making money; it’s a passion that can grow into your most valuable asset and personal brand.
Thousands of people are already building blogs and earning consistent income through affiliate marketing, digital products, and valuable content.
If you are an influencer or marketer, this guide will help you easily start and grow your blog.
Why 2026 is the Best Time to Start a Blog
The best time to start a blog is 2026 because it gives more opportunities to earn and grow online.

More people are reading blogs every day, making it easier for new bloggers to rank on Google if they start now.
Today, the internet is more accessible. With tools like WordPress, affordable hosting, and AI platforms, you can start a blog in minutes without technical skills or a big budget.
So don’t wait for the “perfect time.” 2026 is the perfect time. Start your blog, share your journey, and build something that can change your life.
This 9-steps guide will show you how to start a blog in 2026, even if you have no experience. Take your time, get creative, and begin your blogging journey—your future self will thank you.
Step 1: Select Your Blog Niche

Selecting the right blog niche helps you build a strong blog from to start. Your niche decides your content focus, audience type, and income potential.
A blog niche is the main subject of your blog. It keeps your content simple and focused.
It makes it easier for Google to rank your content for the right keywords, increasing visibility and traffic.
First, ask yourself a few simple questions.
- What topics do I enjoy the most?
- Do people search for this topic online?
- Can I monetize this niche using ads, affiliate programs, or digital products?
Yes! Many people start their blogging journey based on their personal interests, and many of them are able to earn a good income from it.
For example, if you start a blog on a broad topic like “technology,” it is very hard to rank on Google. Many websites are already writing about it and ranking on the first page.
As a beginner, it is better to choose a smaller niche like WordPress tutorials, AI tools, or web hosting reviews. A focused niche helps you stand out, reach the right audience, and grow faster.
Step 2. Pick the Perfect Blog Domain Name

A domain name is the web address of your blog. It is what people type in their browser to reach your site, such as yourblog.com.
A strong domain name gives your blog a professional look and helps visitors trust and remember it.
Choosing the right domain is very important because it affects your branding, SEO, and how easily people can recall your site. Take your time with this decision.
Basically, the right domain name should be:
- Short and simple
- Easy to pronounce
- Relevant to your niche
- Without numbers or hyphens
- Brandable
For example, if your blog focuses on affiliate marketing or blogging tips, avoid names like bestblogging123-techguide.net—this is not a good option. Instead, consider something straightforward like SmartBlogGuide.com or BlogGrowthHub.com.
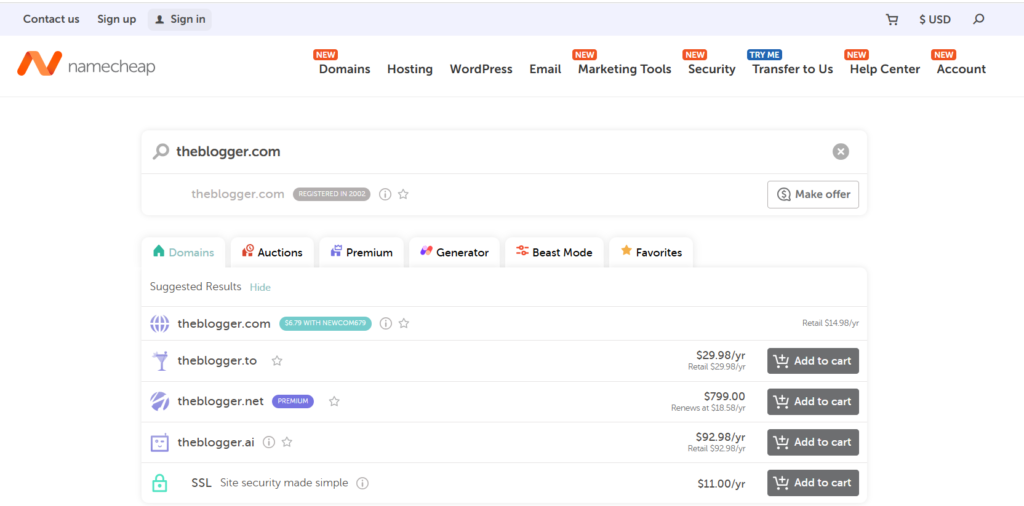
You can use tools like Namecheap or GoDaddy to check if a domain is available and get suggestions.
If your first idea is not available, try slight variations or different words. Focus on a name that is simple and powerful.
If possible, always aim for a .com domain because it is the most trusted and professional extension worldwide. If that’s not available, consider alternatives like .net or .org, but .com is still the best option for long-term branding.
Step 3. Get Your Blog Online (Hosting Setup)
Once you’ve chosen your niche and domain name, the next step is to bring your blog to life by getting it online. This is where web hosting comes in.
Web hosting is your blog’s online home—it stores all your files, images, and content and makes them accessible to visitors 24/7. Without hosting, your blog simply won’t appear on the internet.
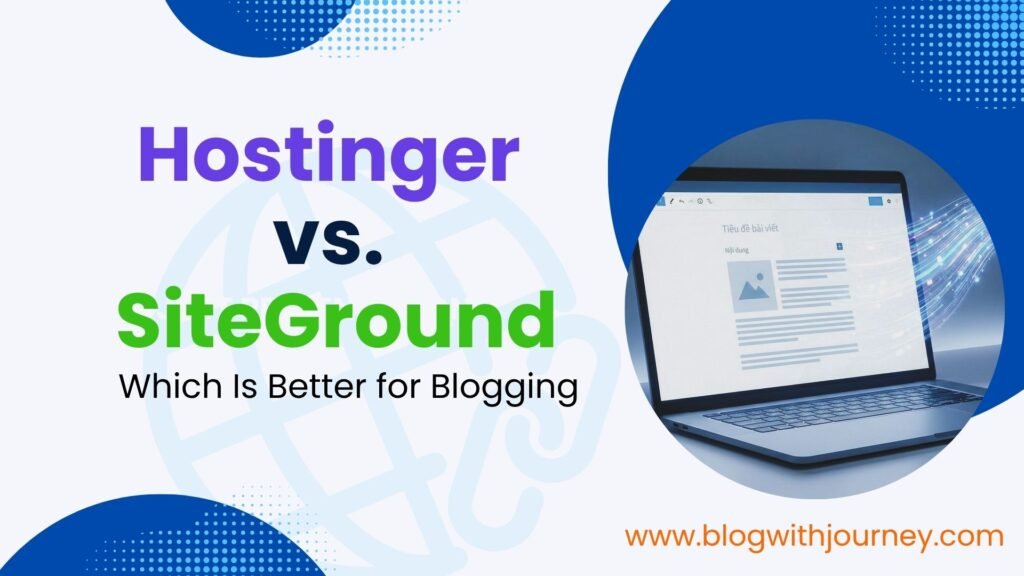
For beginners, Hostinger is among the most popular and user-friendly web hosting services. Millions of users trust it for its speed,security, and affordable pricing.
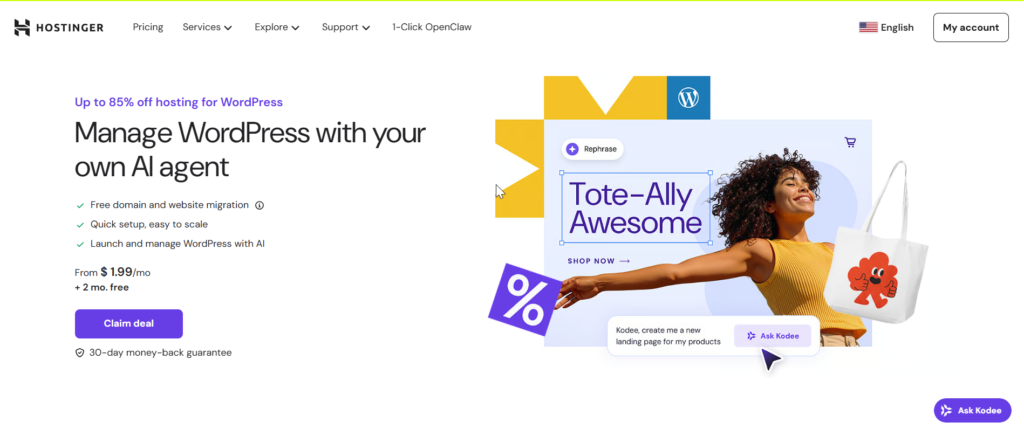
It costs as little as $1.99 per month to start your blog and begin your journey, with a free domain for the first year.
Here’s why I highly recommend Hostinger:
- Fast Speed: Hostinger uses LiteSpeed servers, meaning your website loads super fast — great for SEO and user experience.
- Free SSL Certificate: Protects and Secure your blog and builds trust with visitors.
- Free Domain Name: You get your domain name free with most plans, saving you extra money.
- Easy WordPress Setup: Hostinger has a 1-click WordPress installation, perfect for beginners.
- 24/7 Support: Their team is always available to help you anytime.
To get started, click the button below 👇
👉Get Hosting from Hostinger Now
Note: If you click my link and buy hosting, I’ll earn a small commission — at no extra cost to you.
Step-by-Step Process to Buy Hosting and Install WordPress
1. Click here to visit Hostinger and choose the Basic hosting plan.
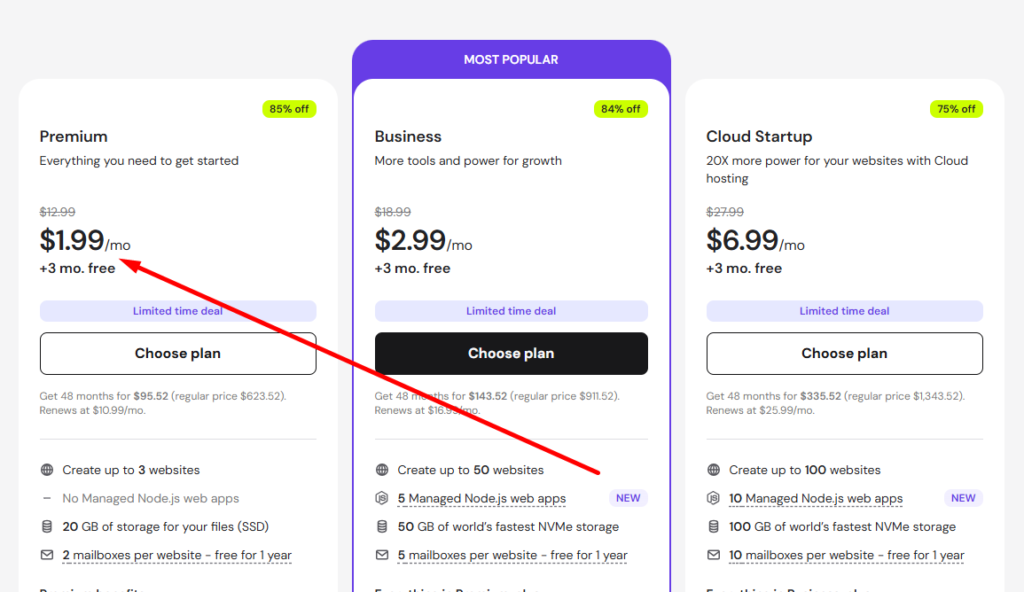
2. After selecting the Basic plan, the next step is to choose your package. You should select a minimum 12-month subscription. This is important because a 1-year or longer plan includes a free domain for the first year.
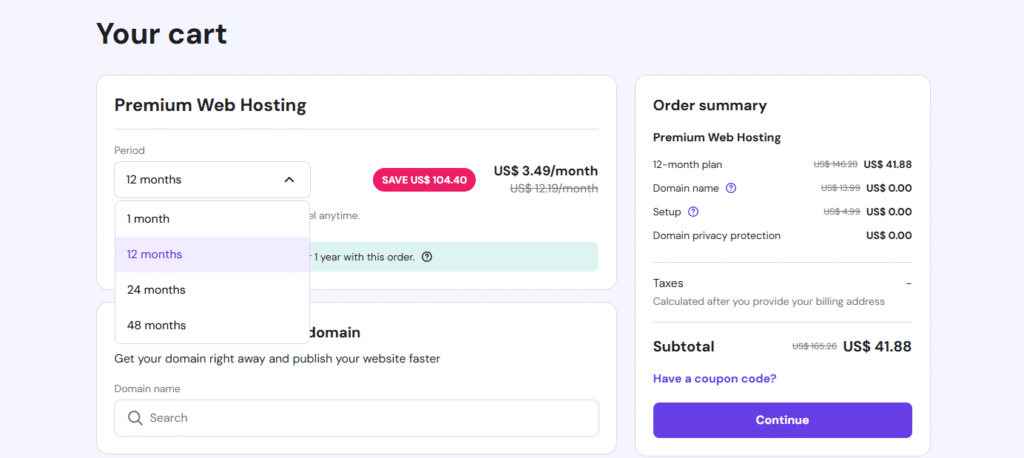
Before setting your domain name, you can add it now or skip this step. You can connect it later after purchasing hosting.
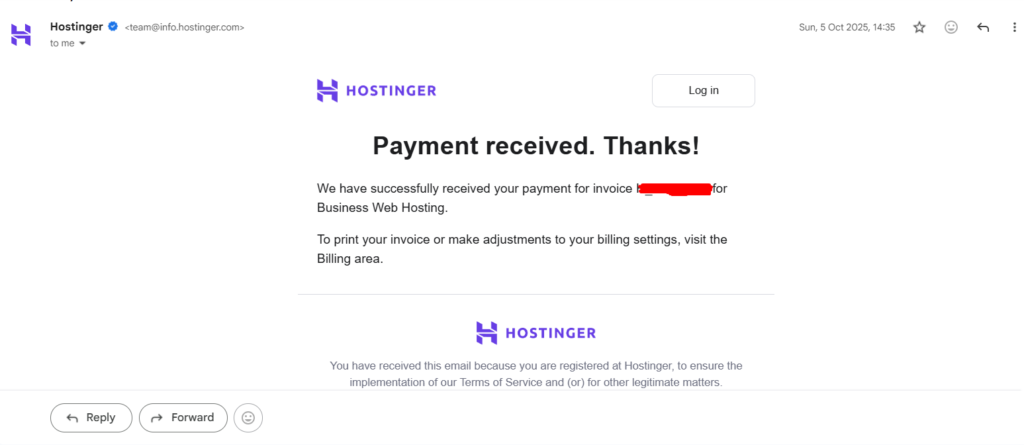
3. Next, fill in all the required information and choose your preferred payment option.
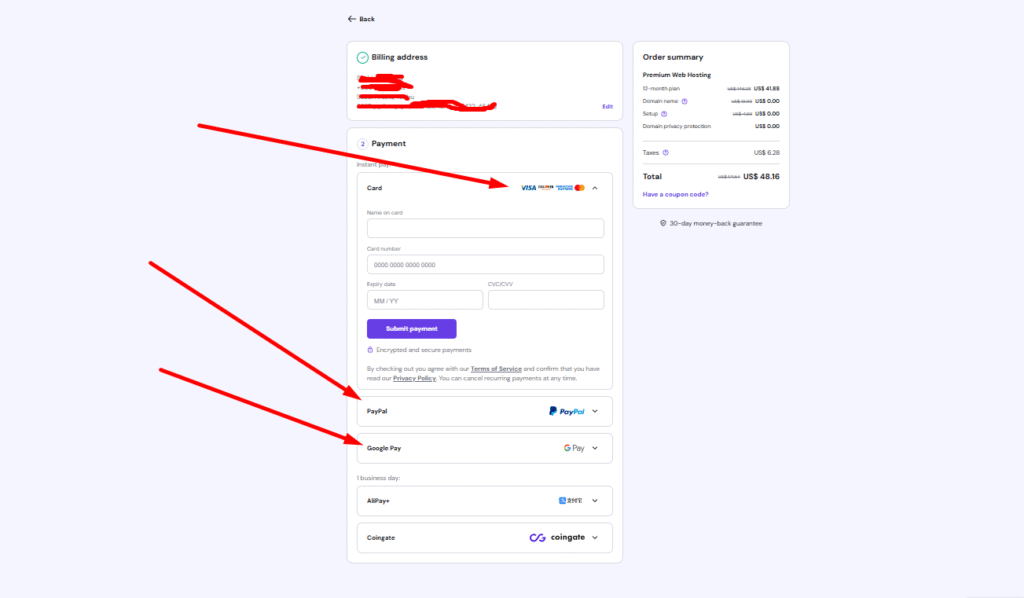
After successfully completing the payment, you will receive your purchase invoice and confirmation email in your Gmail inbox.
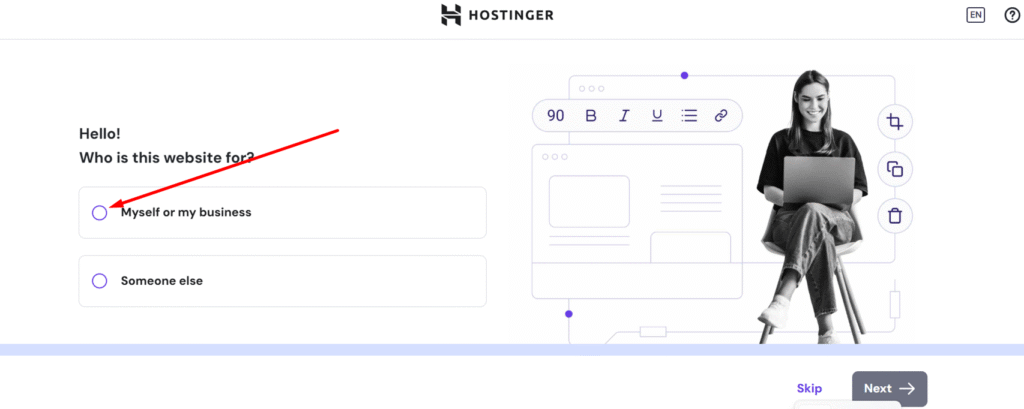
4. After that, you will automatically reach the WordPress setup page in Hostinger, where the installation process continues step by step. You can choose “Myself or My Business” depending on your goal.
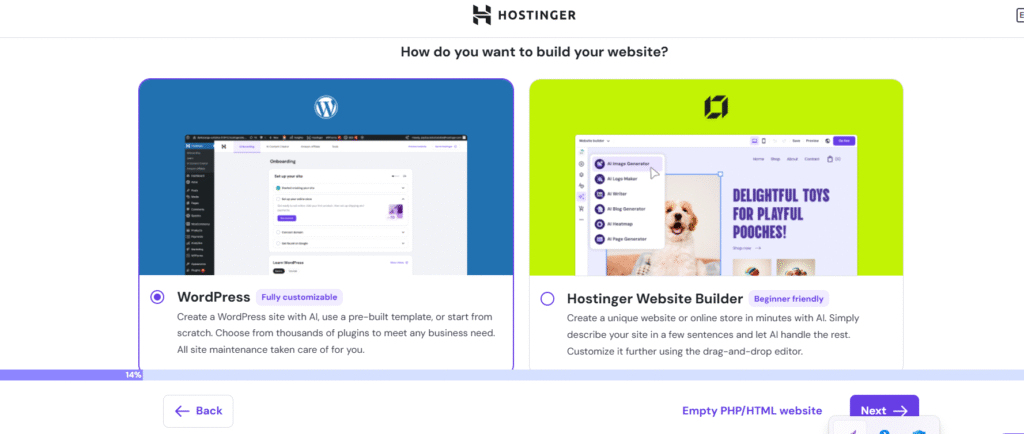
5. The next step is to click on WordPress to continue the setup. WordPress is easy to install and beginner-friendly, making it the best choice for starting your blog.
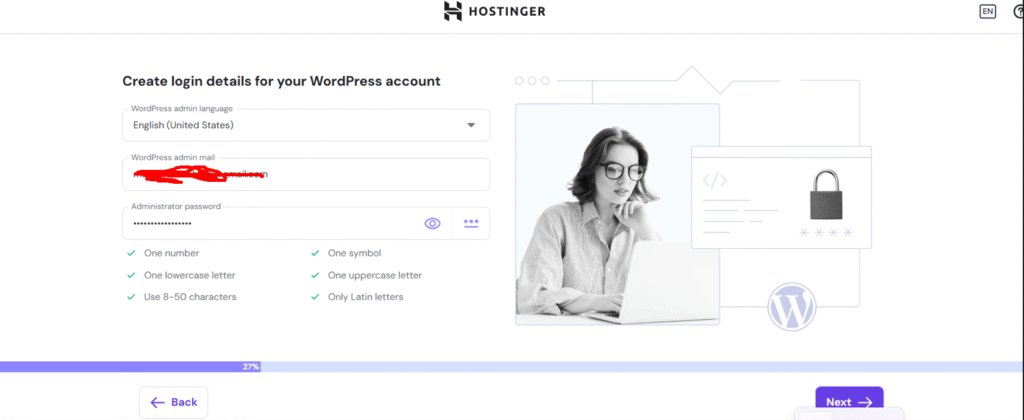
6. Now you will reach the login page. Here, create a strong password (at least 8 characters) for your WordPress website and then click “Next” to continue.
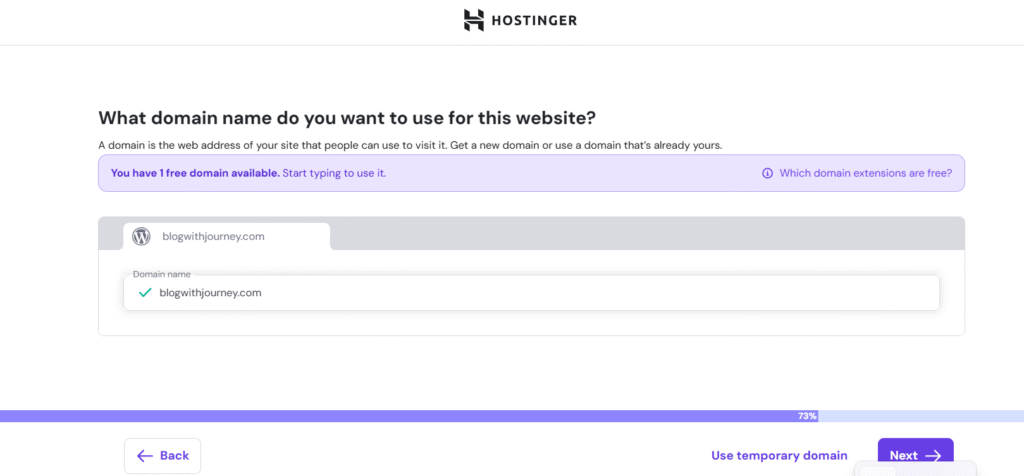
7. If you haven’t chosen a domain yet, now select your preferred blog domain name, such as “blogwithjourney.com.” Then click “Next” to continue.
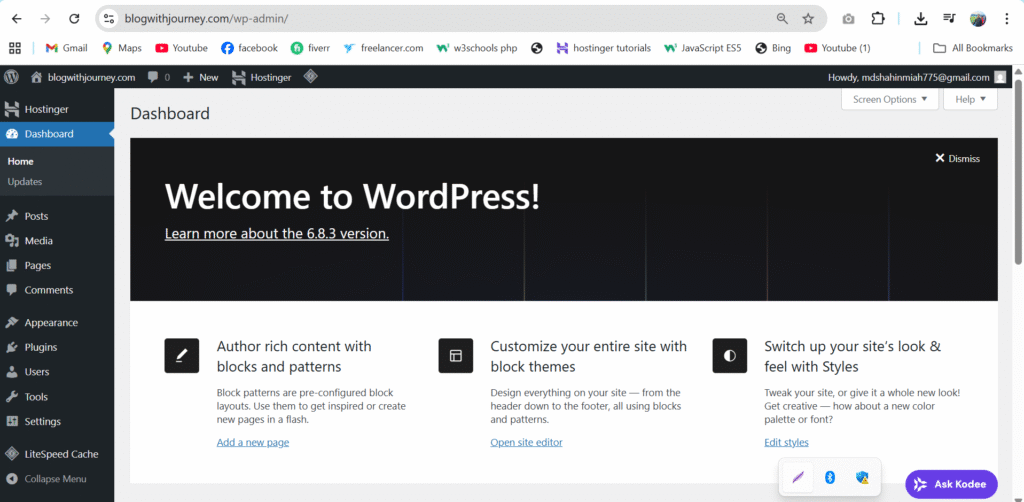
Congratulations! Your WordPress dashboard is now active. Let’s continue with the next steps to start building your brand and blogging success.
Step 4: Set Up a Professional Theme and Install require Plugins
Now that your WordPress dashboard is ready, it’s time to install a theme and the essential plugins.Your theme controls how your blog looks, while plugins add useful features to improve your site.
Choose and Install a Professional Theme
Before choosing a WordPress theme, decide which one fits your niche best. From my personal experience, I recommend Kadence or Astra because both are clean, fast, and help your site look professional while improving SEO performance.
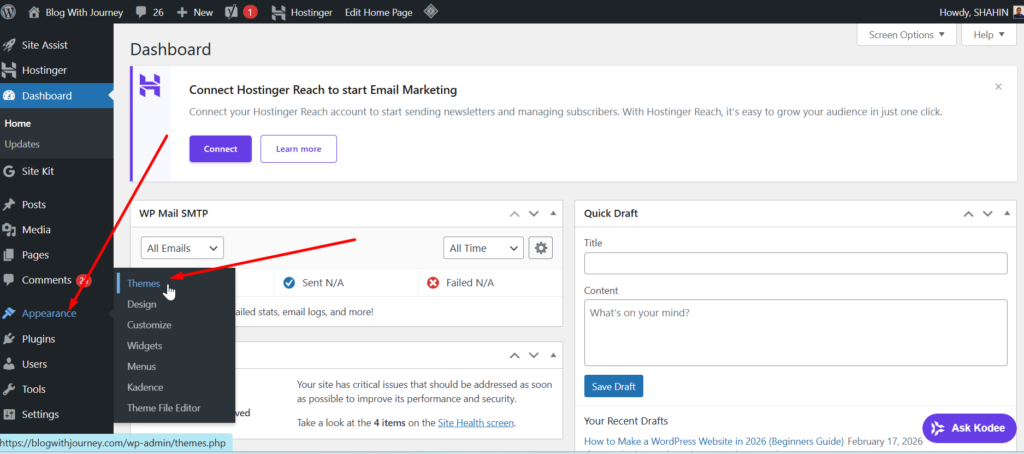
Go to Appearance → Themes
There are many popular WordPress themes available. Use the search bar to find one that suits your website, then click Install and Activate.
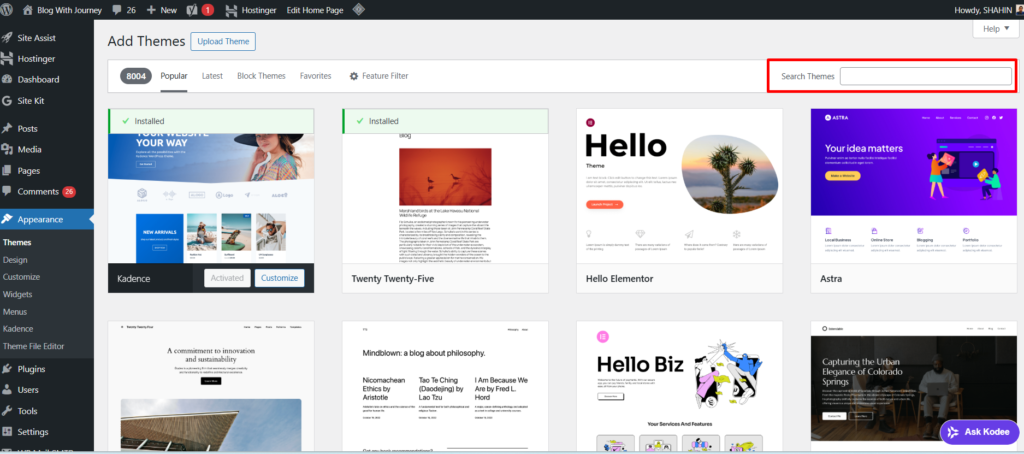
I chose Kadence for my WordPress blog, and I’m currently using it because my blog is running with Kadence.
Install Essential Plugins
Once your theme is activated, the next step is to install essential plugins to improve your site’s performance, security, and SEO.
Plugins help add powerful features to your website without any coding, making it easier to build a professional blog.
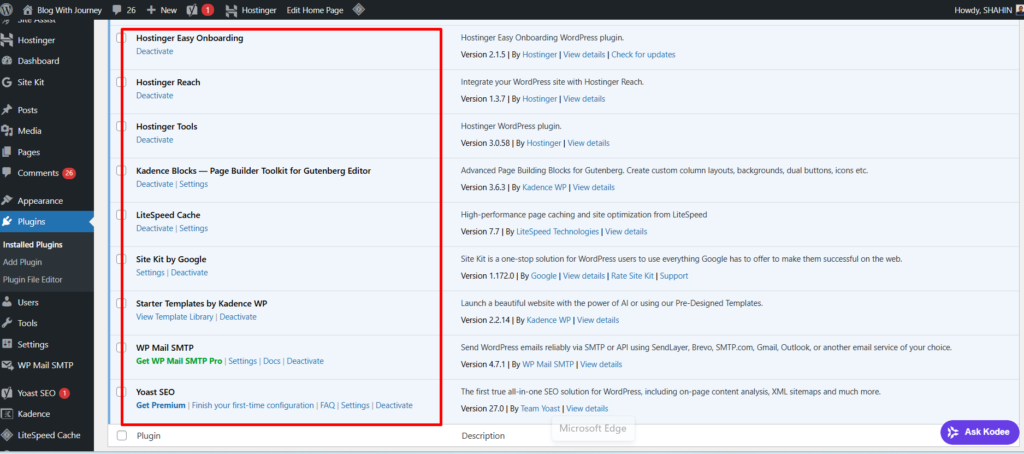
Go to Plugins → Add New, search for the plugin you want, then click Install and Activate to start using it on your website.
Here are the must-have plugins:
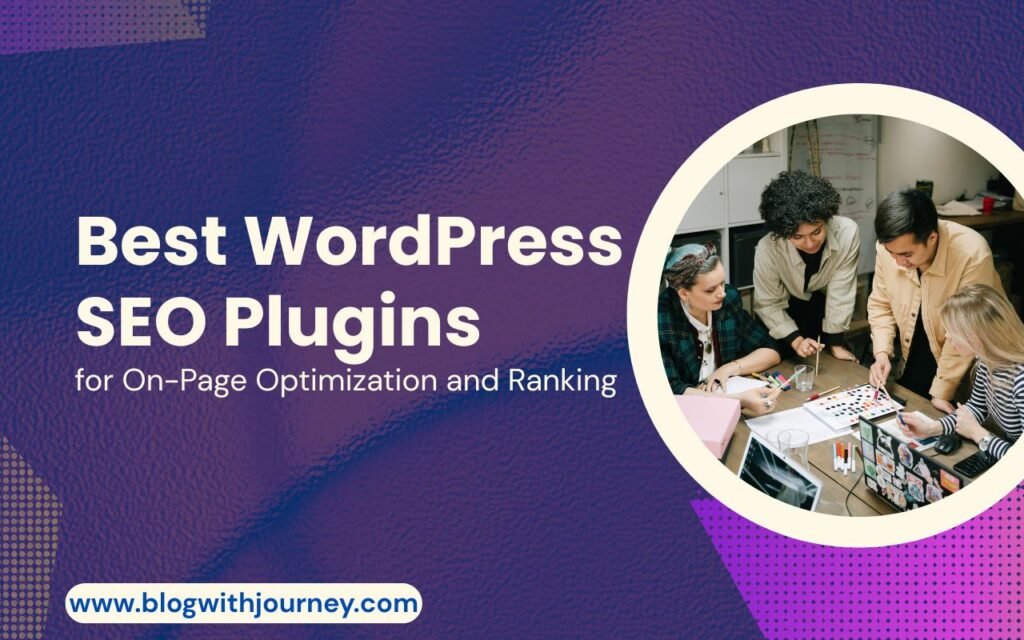
- Install an SEO plugin like Yoast SEO or Rank Math to optimize your content easily, improve your website’s SEO, and help it rank higher on Google.
- Install a speed optimization plugin like LiteSpeed Cache or WP Rocket to boost your website’s performance. If you’re using Hostinger, you get LiteSpeed Cache for free, which helps your site load faster at no extra cost.
- To design your website, use a page builder. Astra works well with Elementor, while Kadence comes with Kadence Blocks. Both are free and beginner-friendly.
Don’t install too many plugins, as they can slow down your website. Stick to only the essential ones, and add useful tools like Site Kit by Google for better Google insights and performance tracking.
Step 5: Customize Your WordPress Theme
The Theme Customizer makes blog design simple and stress-free. You can change layout, fonts, and colors without technical skills. All updates are shown instantly for better control.
Using Kadence makes customization very easy. It helps you build a professional-looking website without any technical skills.
In your WordPress dashboard, click Appearance → Customize. Here you can edit your site and see changes in real time.
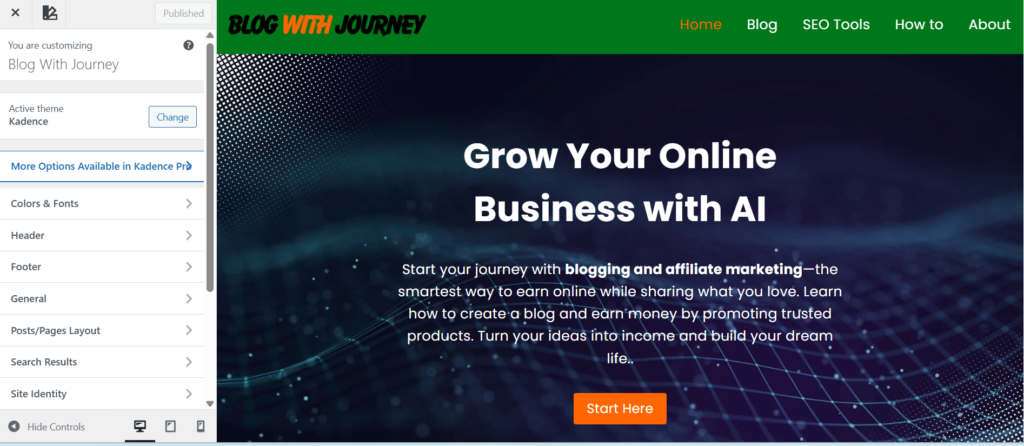
The Kadence Customizer lets you manage your blog name, colors, fonts, logo, and tagline easily. A simple setup helps your site look clean and professional.
If you take your time to explore the Customizer, you will understand each section and how it works.
Step 6: Keyword Research For Blog
Keyword research is a key foundation for ranking your blog well. It’s an important step to build a successful blog website.

This process helps you understand what people are searching for on Google. With this information, you can create content that attracts real visitors who are interested in your topic.
Always target low-competition keywords that have real demand. Create high-quality content and stay consistent.
For example, instead of targeting a broad keyword like “WordPress Hosting” choose something more specific like “Best WordPress Hosting for beginners” This approach will help your content rank higher, draw in the right audience, and increase your traffic and income.
Keyword research means finding the exact words and phrases that your audience uses in search engines. These keywords shape your content strategy and improve your chances of ranking higher on Google.
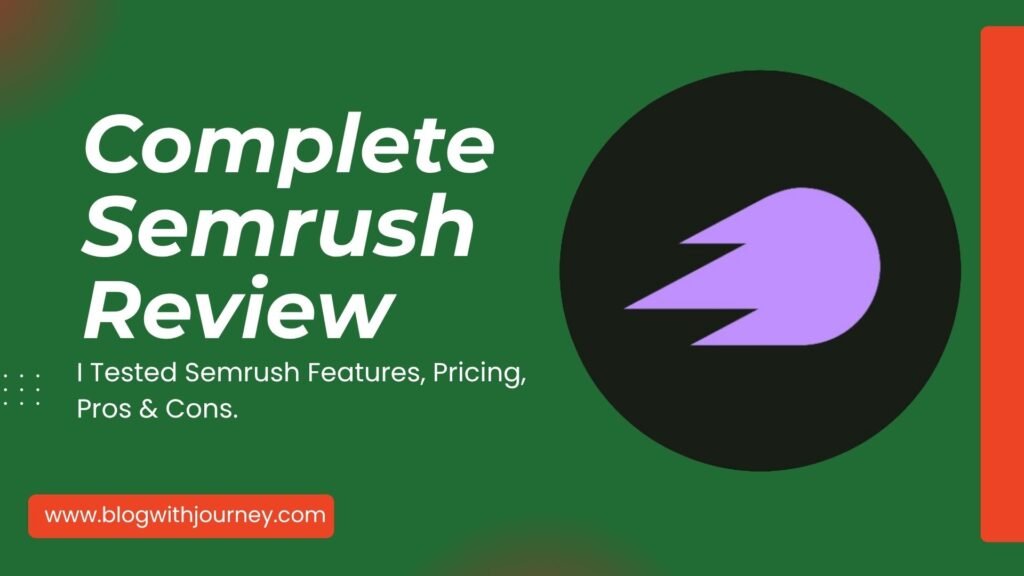
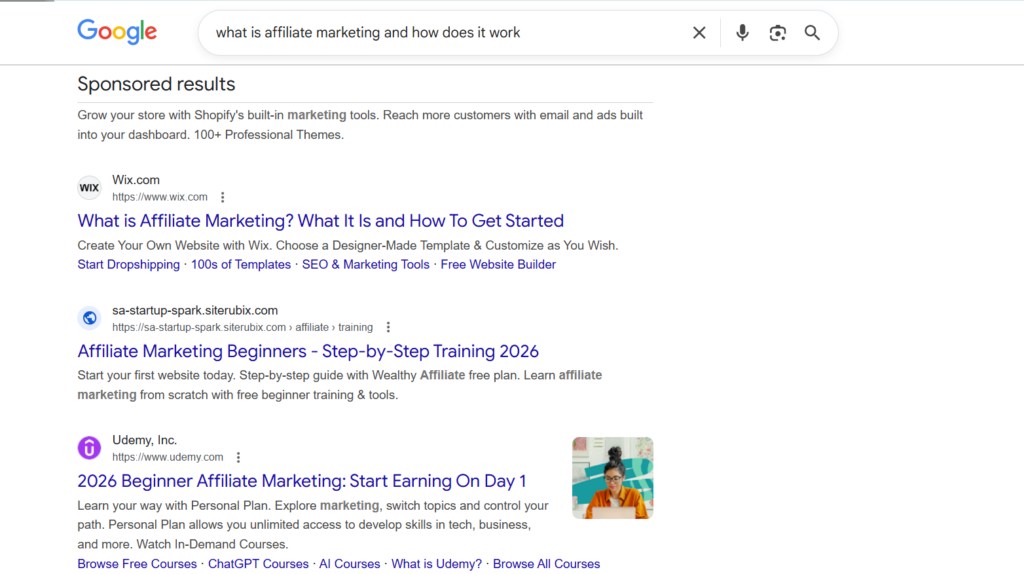
To get started, you can use tools like Ubersuggest, Google Keyword Planner, or Ahrefs. These tools help you discover keyword ideas, search volume, and competition levels. Ahrefs is especially useful for in-depth research and better insights.
Focus on search intent to understand what users want—information, comparison, or purchase. Choose the right keywords and review the top results on Google. If competition is tough, select a more specific keyword or improve your content.
Step 7: Write Your First Blog Post
Now that you’ve done your keyword research, it’s time to create your first blog post. This is where your blog starts coming to life. A well-written post helps you attract visitors, build trust, and lay the ground work for your future content.
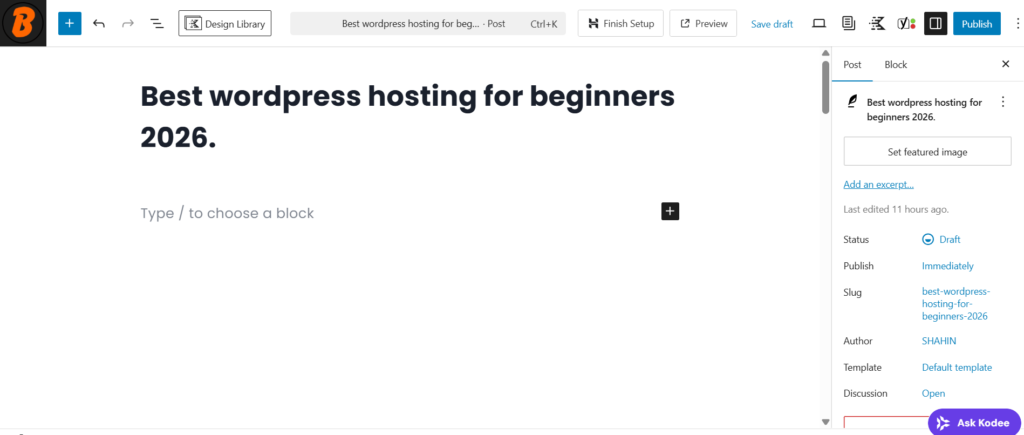
Before you select the keyword you researched earlier, make sure it has low competition and fits your niche. This keyword will guide your entire post.
Your title is the first thing people notice, so keep it simple, clear, and engaging. For example, “Best WordPress Hosting for Beginners.”
Structure your content by breaking it into clear sections with headings.
- Use H2 for main sections
- Use H3 for sub-points
- Keep paragraphs short and easy to read
This improves both readability and SEO. Focus on writing valuable and helpful content by solving your reader’s problem.
Use simple language, outline clear steps or tips, and include examples when necessary.
Your goal is to provide real value, not just fill space. You can also add images, screenshots, or graphics to make your content more engaging and easier to understand.
Always write for your audience, not just for Google. Keep your content simple, maintain consistency with your posting schedule, and prioritize quality over quantity.
Step 8: Optimize for SEO (Get Google Traffic)
Your content is ready—now focus on SEO optimization. This helps your blog rank on Google and bring in targeted visitors by making your content easier to understand for search engines.
First, choose one SEO plugin for on-page optimization. You can use Yoast SEO or Rank Math to easily optimize your content and follow SEO best practices. In this case, I will go with Yoast SEO for my blog optimization.
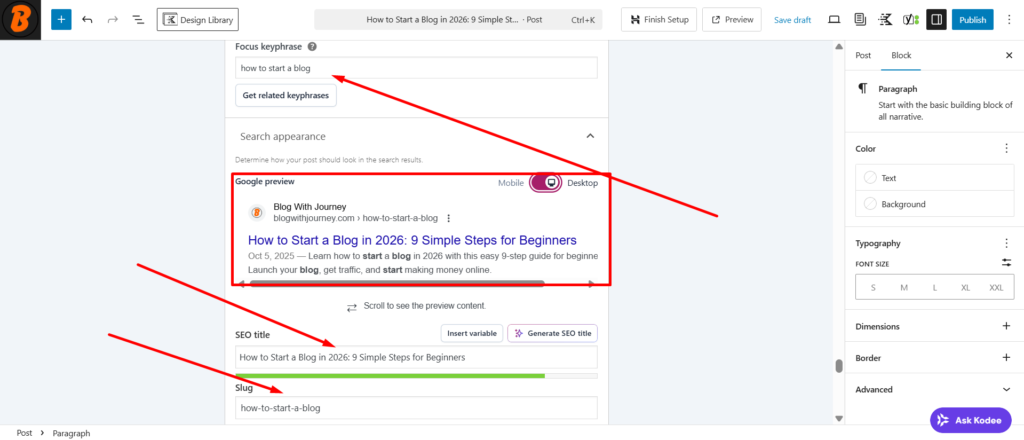
Keep your URL clean, short, and relevant to your keyword. For example, blogwithjourney.com/blog-niche-ideas is much better than a complicated link. Use proper headings to organize your content effectively.
Include your main keyword naturally in the title, headings, URL, and content. Don’t overuse it—keep your writing clear and easy to read. Also, create a strong meta title and description to help attract more clicks from Google.
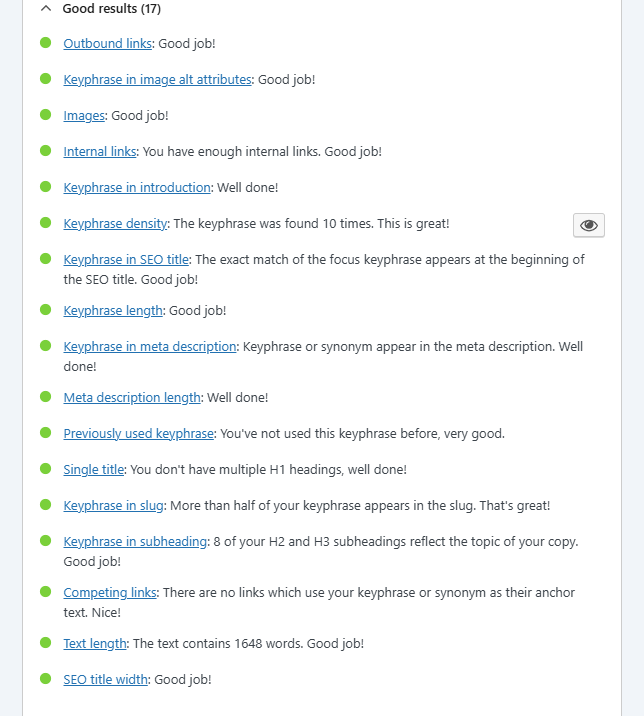
Use internal and external links to improve SEO and help users navigate your site. At the same time, optimize images by naming them properly, adding alt text, and reducing file size for speed.
Website speed matters for SEO, so make sure your site loads quickly by using caching tools and optimized images. Also, ensure your website is mobile-friendly since most users browse from mobile devices.
Always aim to create helpful and high-quality content. Focus on your audience’s needs and keep your content fresh to improve rankings.
Step 9. Monetization Your Blog
Now your blog is fully set up, optimized, and ready with content. This final step is monetization, where your blog starts generating real income. Think of your blog as a digital asset that can make money over time if you use the right strategies.

Before expecting income, try to publish at least 30 to 40 high-quality blog posts first. Blogging is not a quick way to make money; it’s a long-term effort.
If you stay consistent and keep improving your content, your traffic will grow gradually, and so will your earning potential.
Once your traffic grows, monetization becomes easier and more profitable. Always focus on providing value first; income will follow naturally.
💸 Here are the different monetization methods you can use to make money from your blog:
- Affiliate Marketing – promote products like hosting, SEO tools, AI tools
- Display Ads – Google AdSense or other ad networks
- Sponsored Posts – brands pay you for reviews or promotions
- Digital Products – sell eBooks, courses, templates
- Email Marketing – promote offers to your subscribers
Blogging is not a quick income method; it is a long-term digital business. If you stay consistent, keep improving your content, and use the right monetization strategies, your blog can develop into a strong and sustainable source of online income over time.