How to Make a WordPress Website in 2026 (Beginners Guide)

If you’re looking to learn how to make a WordPress website in 2026, you’ve come to the right place. Whether you want to start a blog, build an affiliate site, launch an online business, or create a personal brand, WordPress makes it easy. It provides complete control to build a professional website without coding knowledge.
WordPress is one of the most widely used content management systems (CMS) in the world. Trusted by over 44% of website owners, it provides an easy way to develop professional sites.
Why Choose WordPress to Make a Website?
Choosing WordPress to build your website is a smart decision you can make online success. It’s powerful, versatile, and beginner-friendly, making it an ideal choice for any website. Why WordPress Wins:
- Beginner-Friendly: No coding needed; easy drag-and-drop editor.
- Full Control: You own your website and content.
- SEO-Friendly: Clean code and customizable URLs.
- Themes & Plugins: Thousands of design and feature options.
- Scalable: Start small, grow into blogs or eCommerce.
- Monetization: Google ads, Affiliate marketing, and digital products.
In this complete guide, you’ll learn a simple step-by-step process to create a website—from choosing your niche and buying reliable hosting to designing, optimizing, and launching it for traffic and income.
No special skills needed—just follow along and bring your website to life today.
Step 1: Select Your Website Niche

Selecting your website niche is the most important step when creating a successful WordPress website. Your niche defines what your website is about, who your audience is, and how you will make money online.
A clear niche helps you attract targeted visitors, rank faster on Google, and build authority in one specific area.
Examples of Profitable Website Niches in 2026
- Affiliate marketing
- AI tools & software reviews
- Personal finance for beginners
- Fitness & weight loss
- Tech gadgets
- Shoes & fashion
- Blogging & freelancing
- Online business
Don’t overthink it. Choose a niche you understand, that has real demand and clear earning potential. You can refine it as your website grows. Once decided, move to the next step—buy your domain and hosting.
Pick a niche that offers long-term potential, scalable growth, continuous market demand, and clear monetization paths.
Step 2: Buy Domain & Hosting
After picking your website niche—like affiliate marketing—Now you should choose and buy a domain and hosting. These form the foundation of your WordPress website.
Choosing the perfect domain and hosting is crucial for speed, security, and long-term success. Once you have them, you can easily connect everything through your WordPress dashboard.
What Is a Domain Name?
Your domain name is the URL people type to visit your website, for example, blogwithjourney.com. It defines your brand identity and guides visitors to your site.
Tips for Choosing a Domain Name:
- Keep it short and easy to remember
- Avoid numbers, hyphens, or special characters
- Use a .com extension if possible
What Is Web Hosting?
Web hosting stores your website files and images, making your site accessible to visitors online. For affiliate marketing websites, it’s essential to choose hosting that is fast, secure, and reliable.
Hostinger is one of the most popular and beginner-friendly web hosting providers, making it ideal for bloggers, affiliate marketers, and small business owners. It offers fast and reliable hosting for just $1.99/month and includes a free 1-year domain. Set up your site first, then choose the theme that fits your goals.
Go to Hostinger and select a hosting plan that fits your needs.
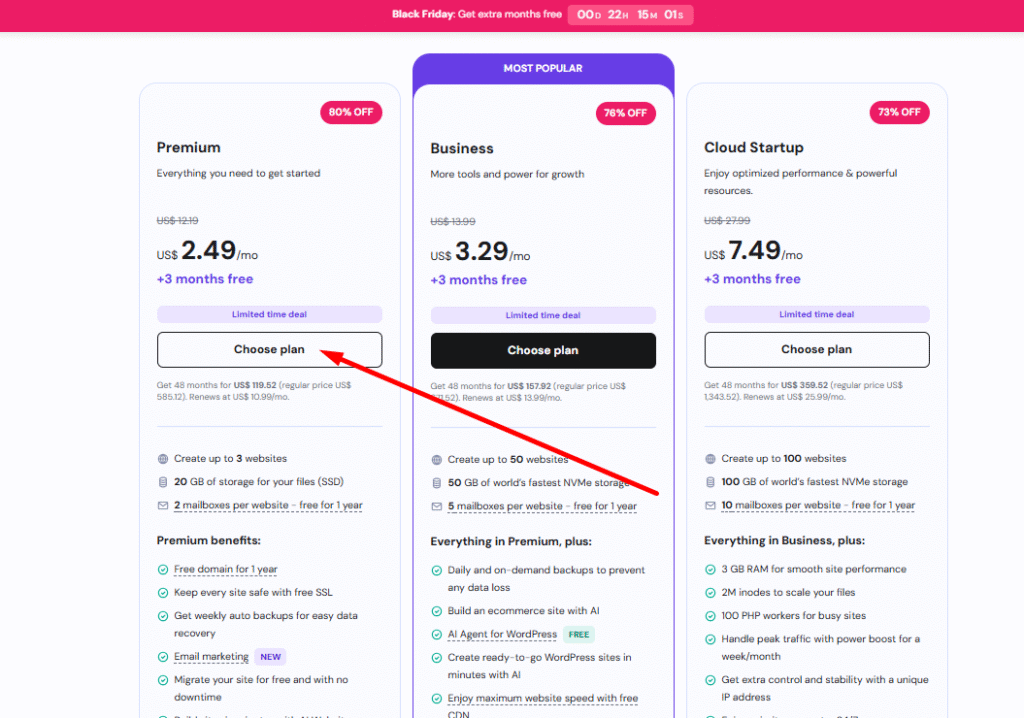
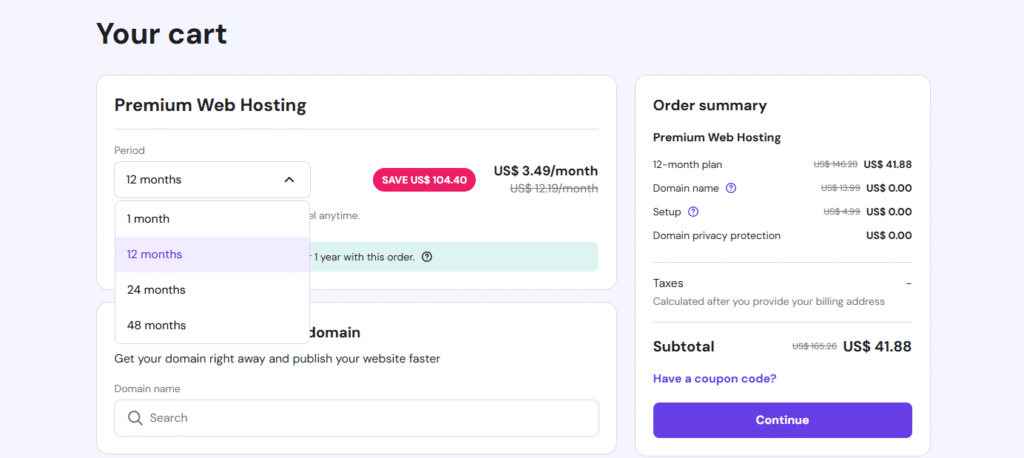
Now you have to this page. here the chose 12 months plan and select your unique domain or brand name. Now don’t idea about your domain name than no select stay blank and click continue.
Filup this page your identity and continue . Now you select payment option.
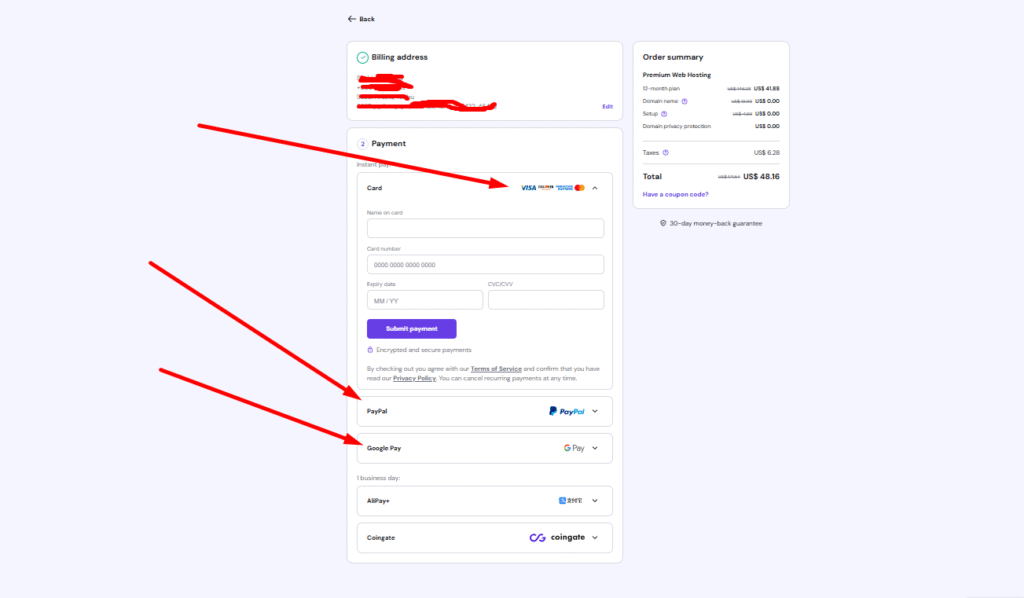
You can select any payment option and complete your payment securely. After successfully completing the payment, you will receive your purchase invoice and confirmation voucher in your Gmail inbox.
Step 3: Install WordPress via Hostinger (1-Click Method)
After purchasing your hosting from Hostinger, you can easily install WordPress on your website using the 1-click process. Simply follow the on-screen instructions to complete the installation quickly and smoothly.
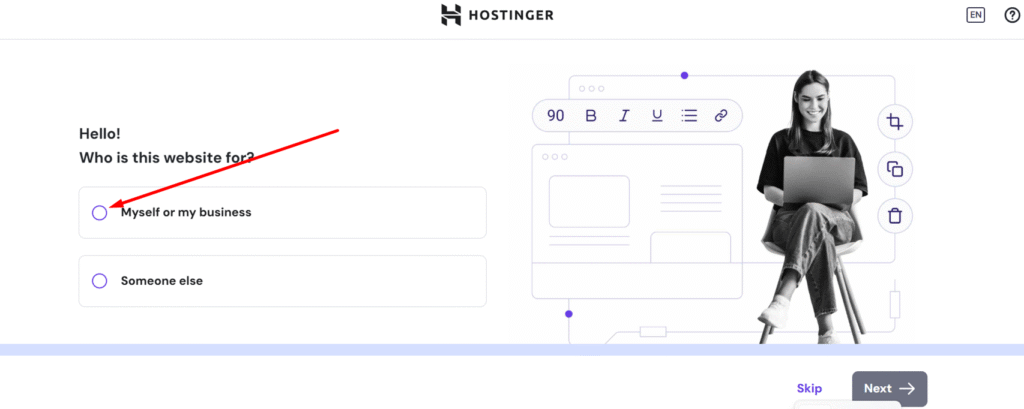
You will be redirected to this page. Now, select “Myself” or “My Business” based on your needs, then click Next to continue.
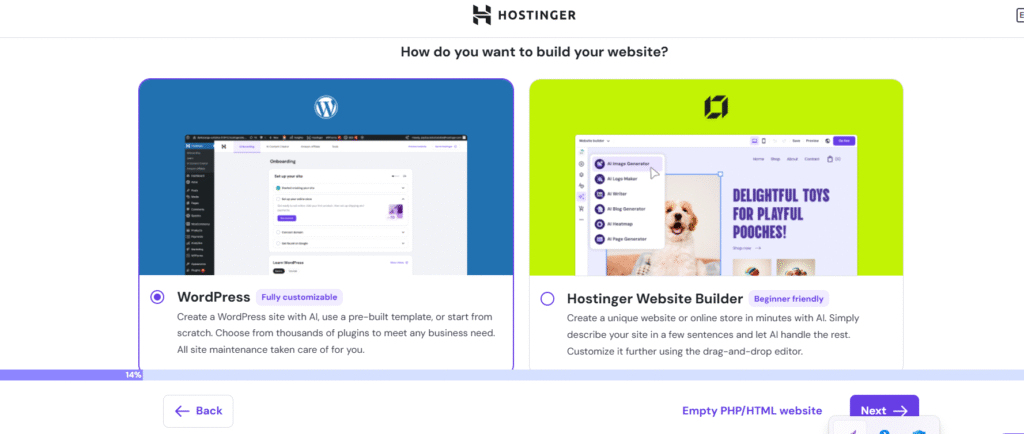
Choose WordPress and to next.
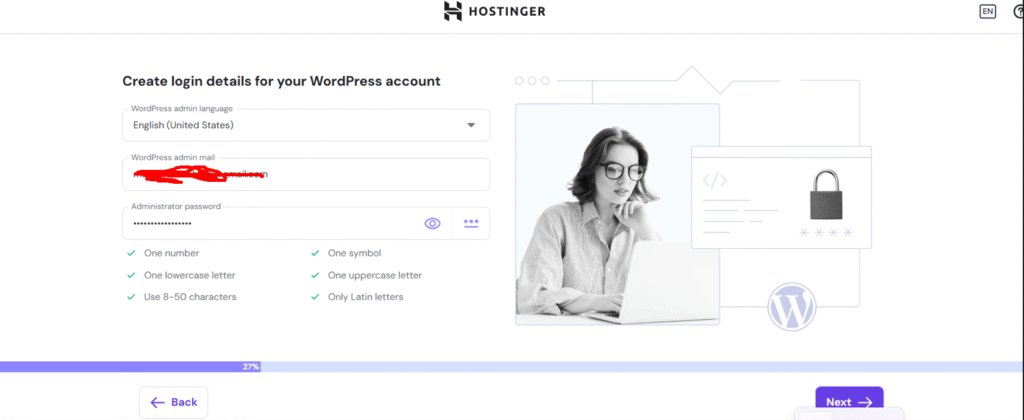
create login page. you have make Strong Password(8 Character) for your wordpress website and select next.
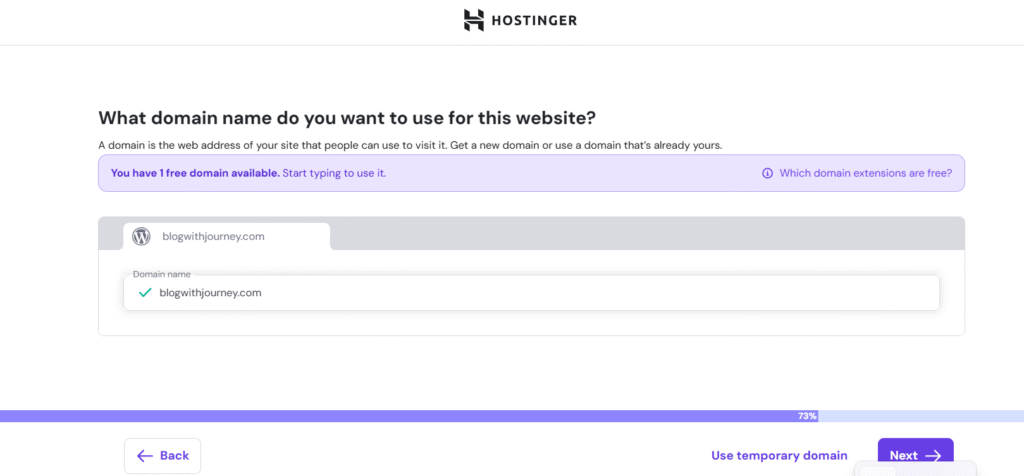
If you haven’t chosen a domain yet, select one now. With a 12-month or longer plan, you’ll get a free domain for 1 year. Then click Next to continue.
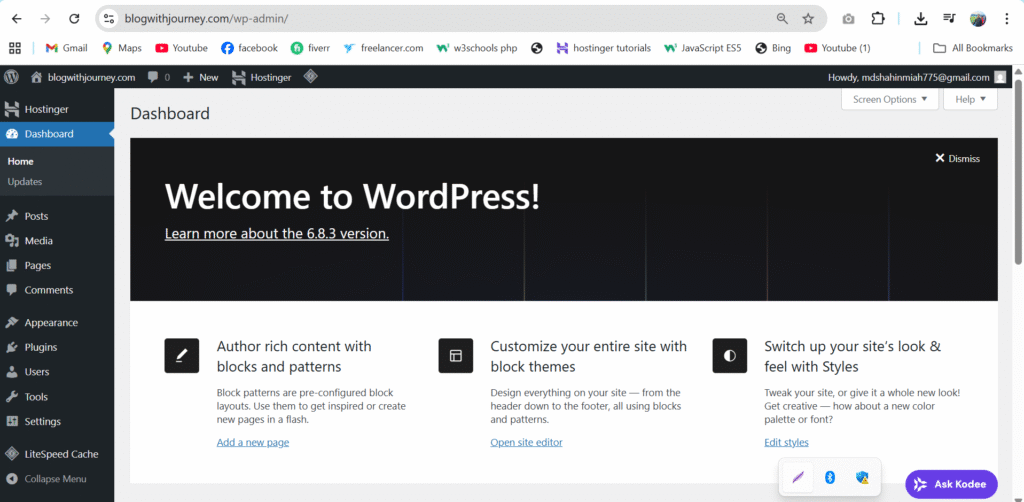
Congratulations. finally you got your wordpress website dashboard. Now i will tell you next process for your brand journey.
Step 4: Install a WordPress Theme
After installing WordPress, the next important step is choosing and installing a theme. A WordPress theme controls your website’s design, layout, colors, fonts, and overall appearance. In simple words, your theme decides how your website looks to visitors.
Choosing the right theme is especially important for affiliate marketing websites because a clean, fast, and professional design builds trust and improves conversions.
Before installing a theme, make sure it is:
- Speed improves SEO and user experience
- Works perfectly on phones and tablets
- Clean code structure
- Simple design controls
- Ensures security and compatibility
Installing a theme in WordPress only takes a few minutes. Follow these steps: Go to Appearance → Themes
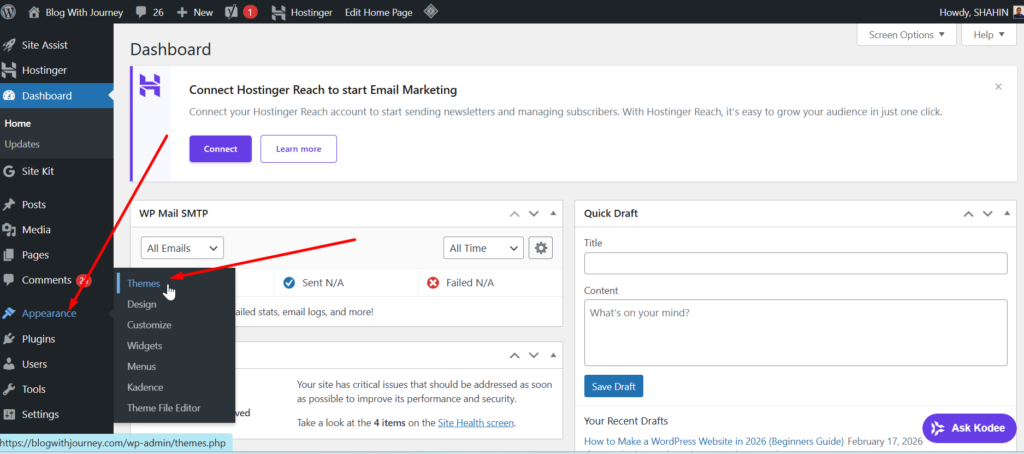
Here are some of the most popular WordPress themes to choose from. Select the one that best fits your website. Just click Install and then Activate to set it as your site’s theme.
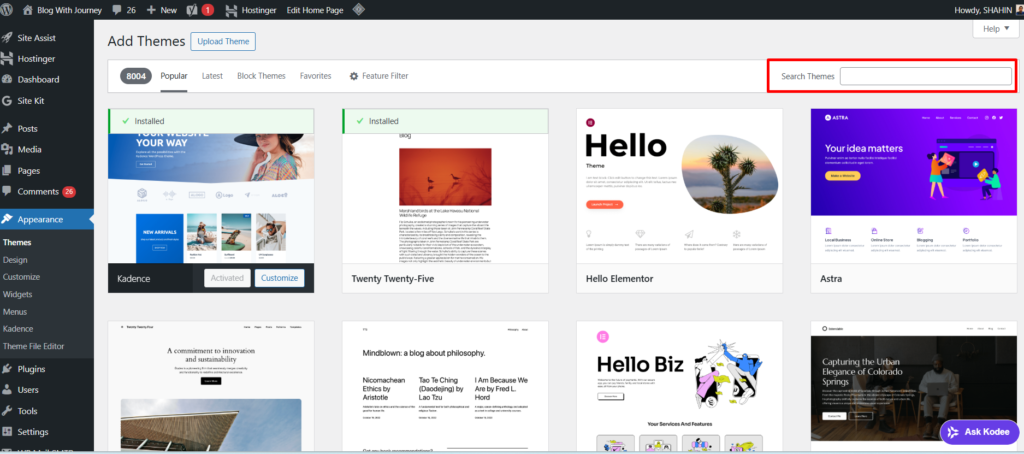
For an affiliate marketing site, choose a fast and lightweight best WordPress theme like Astra or Kadence—both are SEO-friendly, mobile-responsive, and built for speed and conversions.
Step 5: Install Essential Plugins
Once your theme is activated, the next step is to add essential plugins to improve your site’s performance, security, and SEO. Plugins extend your website’s functionality and help you build a professional affiliate marketing site.
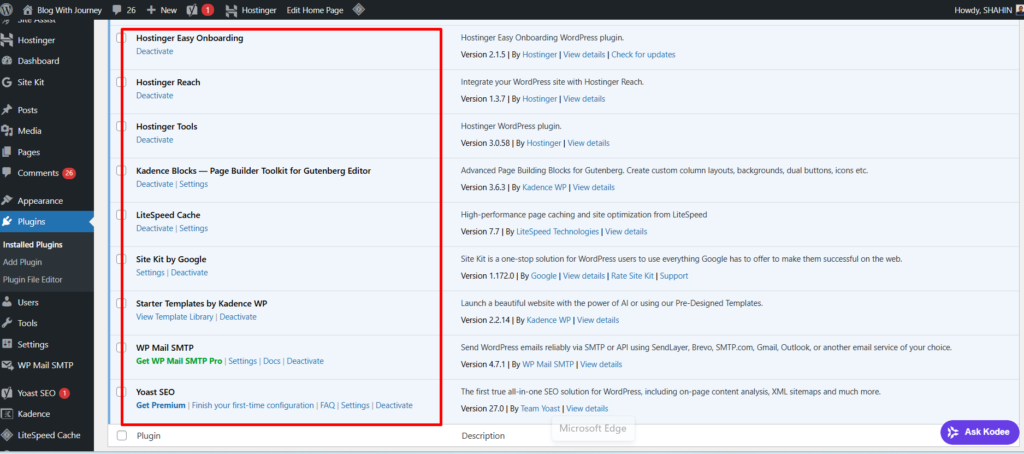
Here are the must-have plugins:
- SEO Plugin: Install Yoast SEO or Rank Math to easily optimize your content, improve SEO, and help your website rank higher on Google.
- Caching & Speed Plugin: Use LiteSpeed Cache or WP Rocket to improve speed and performance. With Hostinger, LiteSpeed Cache is free.
- Affiliate Link Management: Manage and cloak your affiliate links using Pretty Links.
- Page Builder: If you choose Astra, Elementor works perfectly with it. If you select Kadence, you can use the free Kadence Blocks page builder. Both themes and plugins offer free versions to get started.
These essential plugins will make your affiliate website faster, safer, SEO-friendly, and ready to generate commissions.
Go to Plugins → Add New, search for the plugin you want, then click Install and Activate to start using it on your website.
Step 6: Create Important Website Pages
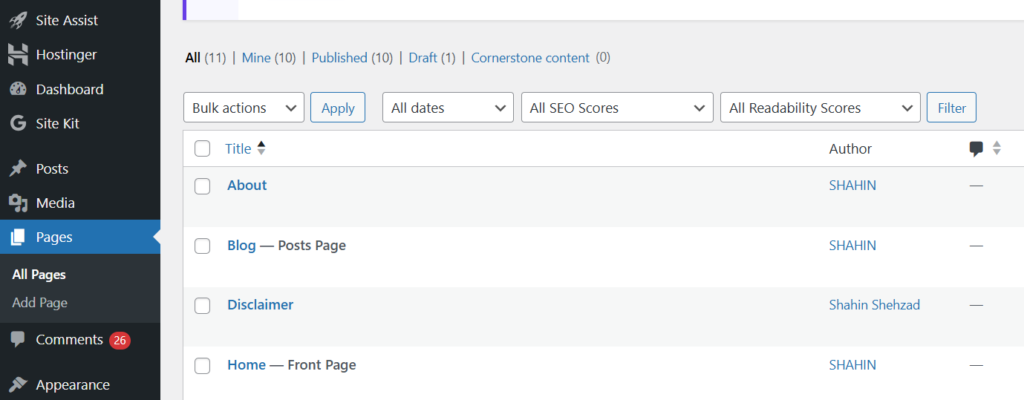
After setting up your WordPress website, create the important pages before publishing blog posts. These pages build trust, improve SEO, increase conversions, and make your site look professional—setting a strong foundation for long-term affiliate marketing success. Here are the important pages:
Home Page
Your home page is the first impression. Show what your site offers, highlight top content, and use clear call-to-action buttons to engage visitors.
About Page
Introduce yourself, your experience, and your mission. Let readers see why they should rely on your guidance. Builds confidence and rapport.
Contact Page
Provide a contact form and professional email to allow easy communication with your audience and business partners.
Privacy Policy Page
Explain your website’s data collection methods, such as cookies, tracking, and email subscriptions. It’s required in many countries and increases trust
Blog Page
This page lists every article you publish. Organize content logically to guide readers to valuable posts and reviews.
Affiliate Disclosure
Inform your visitors that you may earn commissions from links. Transparency ensures credibility and legal compliance.
Terms and Conditions
Explains website usage rules and protects you under the law
These essential pages make your affiliate website professional, secure, and ready to drive traffic and revenue.
Step 7: Customize Your Website Design
Now it’s time to customize your website and give it a clean, professional look. If you’re using Kadence, you get powerful, beginner-friendly design options that are fully customizable—no coding required. Keep in mind that every theme has a different customization system and settings layout, but the basic design process is similar.
Go to Appearance → Customize in your WordPress dashboard
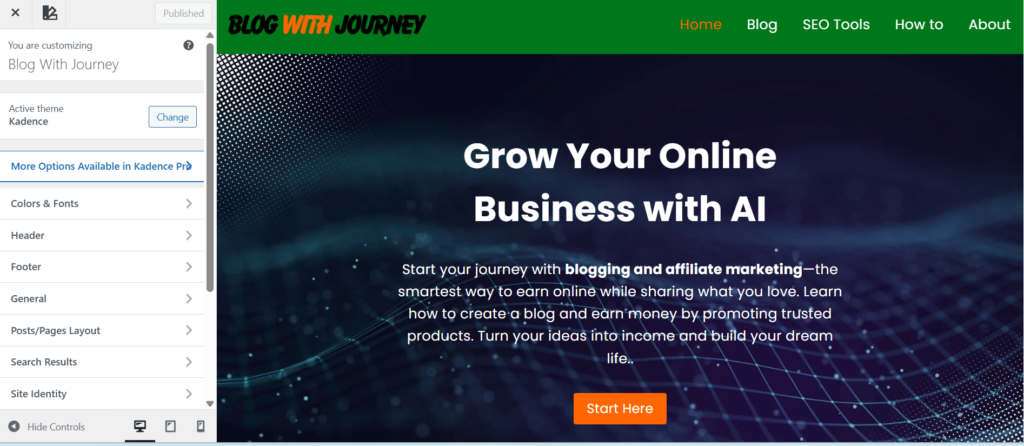
Define Your Brand Identity – Add your logo, site title, and a clear tagline to showcase your niche. Consistent branding helps visitors remember and trust your site.
Select your brand colors and fonts for a cohesive, professional look using Kadence.

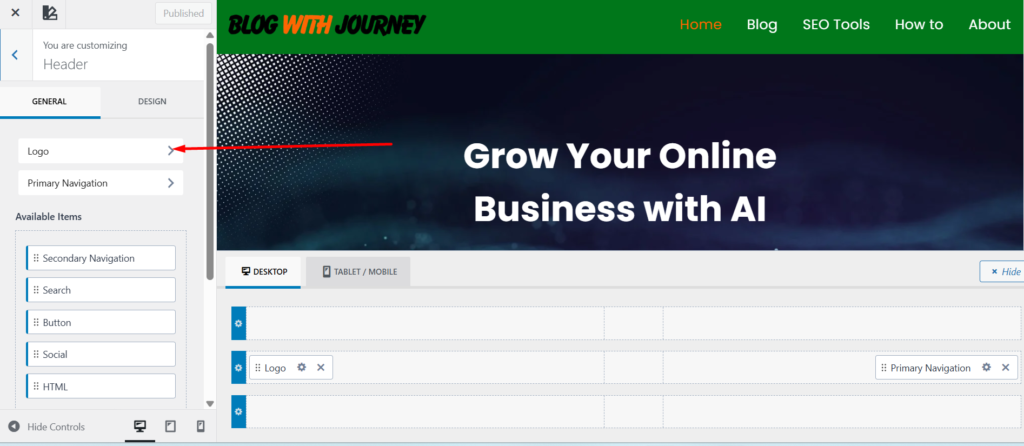
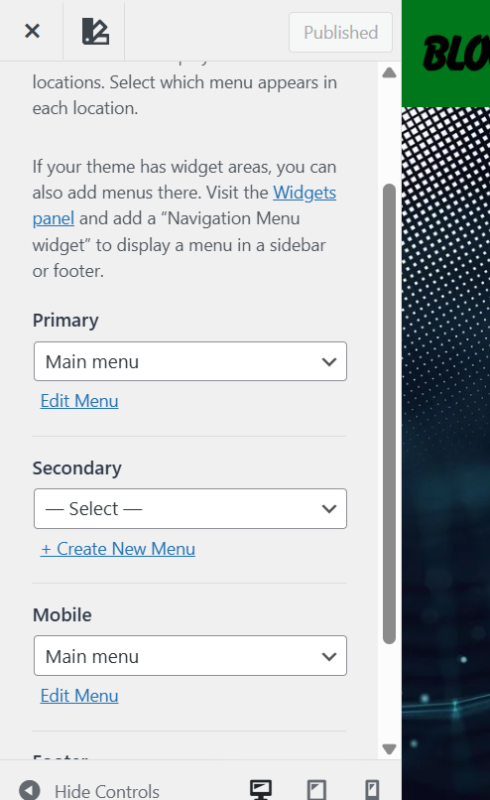
Customize your header, add a main menu, and include a call-to-action. A clean navigation keeps visitors engaged.
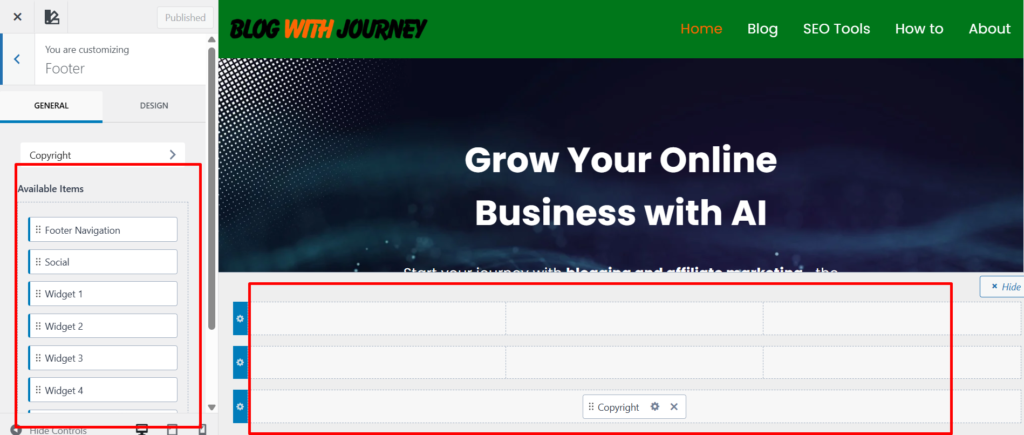
Add key links like Privacy Policy, Affiliate Disclosure, and Terms, plus social media icons and a brief site description.
Set up your homepage, optimize blog layouts, make your site mobile-friendly, and boost speed for a professional, user-friendly website.
Step 8: Create Your First Blog Post
Now that your website design is ready, it’s time to start your first blog post. This is where your content strategy begins and where you start attracting traffic from search engines.
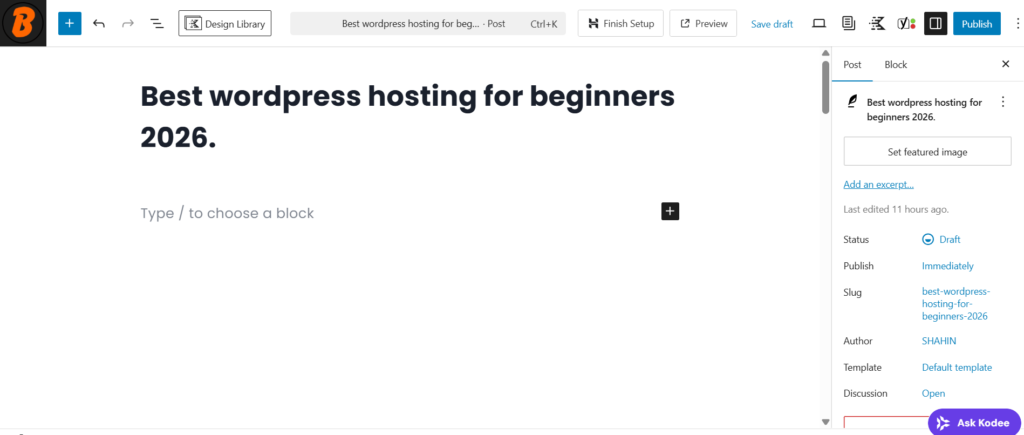
Go to your WordPress dashboard, go to Posts → Add New.
Before writing your content, make sure to choose a long-tail, high-traffic keyword related to your niche. For example, if your niche is affiliate marketing, you could use “best wordpress hosting for beginners 2026.” Focus on beginner-friendly, low-competition keywords to increase your chances of ranking on Google.
Write High-Quality Content
- Introduction (Explain what the post is about)
- Main sections with headings (H2, H3)
- Bullet points for easy reading
- Conclusion with a summary or call-to-action
Add images, screenshots, or infographics to make your content engaging and easy to understand.
Step 9: Optimize Your Website for SEO
Search Engine Optimization (SEO) boosts your website’s Google rankings and drives free, long-term traffic. Even the best content needs SEO to be seen. Follow these steps to optimize your site effectively.
First, install an SEO plugin such as Yoast SEO or Rank Math—I personally use Yoast SEO plugin.
These plugins simplify website optimization, letting you add meta titles, descriptions, sitemaps, and manage keywords and indexing. They are essential for boosting rankings and attracting organic traffic.
Include your main keyword in the title, headings, and first 100 words. Use short paragraphs, bullet points, and a compelling meta description for better readability and SEO.

Add internal links to your own related articles and external links to high-authority sites to boost credibility and SEO.
Backlinks from other websites boost your site’s authority. You can gain them by writing guest posts, creating shareable guides, and building relationships with other bloggers.
Step 10: Launch Your Website & Start Earning
Congratulations! 🎉 Your website is ready—now launch it and start earning. Before going live, check your pages, links, SEO settings, and ensure key pages like Privacy Policy and Contact are properly set up.
Test your website on mobile and desktop, fix issues, clean up formatting, and confirm your SEO settings are active. Use Google Search Console to connect your website and improve indexing speed.
Add Monetization Methods
- Affiliate marketing (promote tools and products)
- Display ads
- Sponsored posts
- Selling digital products
Your first website won’t make money overnight—it often takes 3–6 months or more to see real results. Keep publishing valuable content, improving SEO, and staying consistent. Launching is just the beginning—focus on value, and the income will follow.


One Comment